Table of ContentsShow
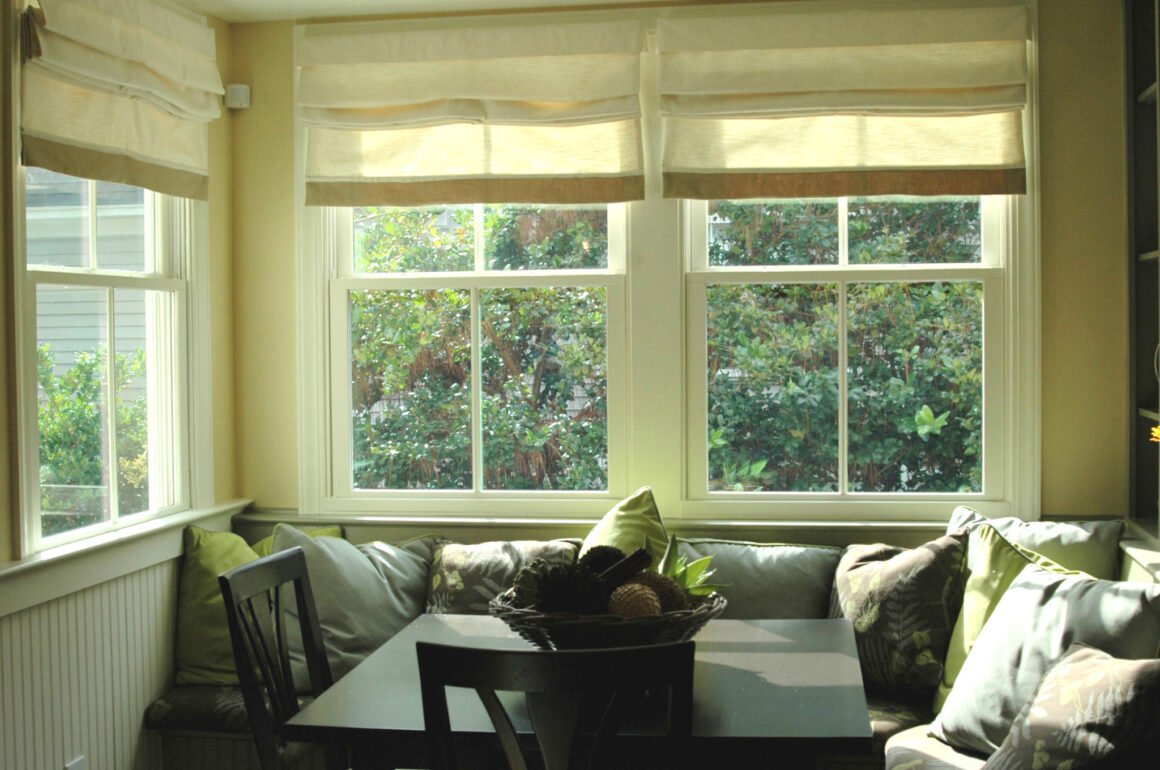
DIY Roman Shades: Easy Step-by-Step Guide
DIY Roman shades (also known as Roman blinds), have the benefit of needing much less fabric than regular drapes, whilst still having detail and design appeal. With straightforward instructions, pictures, and uncomplicated math, follow this easy guide on how to make Roman blinds yourself.

Materials and Tools
The key with DIY Roman shades is taking precise measurements, and starting with the right equipment.
- Tape measure
- Tailor’s chalk or pencil
- Blind fabric
- Velcro (the stick-on kind is best)
- Dowel rods (width of window minus 1 inch – optional if you are making a small blind)
- Batten (same width as the window)
- Small plastic rings, or eyelets + setter
- Screw eyes
- Cord, cord pull, and cleat
Step 1: Measuring Up
Making Roman blinds is a great way todecorate your home for less, but only if you get the measurements right, or you’ll be back to the store for more fabric.
- Measure the width and length (drop) of your window.
- To work out how much fabric you need to buy: add 3 inches (7.5cm) to the width to allow for side hems; add 9 inches (23cm) to the length. If your window is wider than the width of the fabric you like, then you will need to double up and sew two widths of fabric together.
Step 2: Cutting and Marking Out
DIY Roman shades/Roman blinds are divided up into an odd number of panels. The usual panel length is around 12 inches (30cm), apart from the top panel which is longer by about another half panel.
- Cut out the required length of fabric.
- Divide the length of the fabric by 12 to find out how many panels you need to make. example: length of window 84 inches, Divide 84 by 12 = 7. So this means you need to make 7 panels.
- Mark out a line 20 inches from the top of the fabric.
- Then mark out the panels at 12-inch intervals from this top line, working down the length of fabric, with a 1-inch gap between each one, to allow for the dowel casings.
- Accurately mark and cut out the width of fabric you need (you may need a set square to help as it’s essential the fabric is cut straight).
Step 3: Sewing

- The first stage in sewing a DIY Roman shade is to create the dowel casings that we just measured out (the 1-inch gaps between the panels). Bring one side of the 1-inch line to meet the other side, and pin it together to create a “tube”. Sew along the lines to form a pocket.
- Hem your bottom panel by 2 inches – you can add extra weight to help the blind hang better by using a batten or dowel inside this hem.
- Hem the top section, using the line you marked out before (20 inches from the top).
- Sew or stick a length of velcro to this hem. Stick the other side of the velcro onto a batten, the same width as your window.
- Along the back of every second dowel casing, sew on the small plastic rings at 12-inch intervals – this is only a guide, as long as they are evenly spaced and kept away from the edge of the blind, that is fine.
If you are making a small blind, you can use eyelets in place of the small plastic rings, set through the dowel casings, and leave out the dowels from the next stage – see picture.
- Insert your dowels into each dowel casing.
- Hem each side.
Step 4: Installing

Nearly there! To complete your DIY Roman shade:
- Attach a screw eye to each side of the Velcro batten. Attach the Velcro batten above the window, and whilst you have the tools in hand, screw the cleat to the side of the wall where you want your drawcords to be stored.
- Tie the cord securely to the bottom ring of the first vertical row, and thread through the remaining rings, and then through the screw eye in the batten to the side of the blind where the drawcords will be situated. Repeat for each vertical row of rings.
- Attach Roman shade to the batten, using the Velcro attached earlier.
- Pull all the cords simultaneously to raise the blind, making sure the folds are straight and even. Release the blind, keeping a firm hold of all the cords together.
- Knot the cords together, about 20 inches from the ends, then attach your cord pull.
- Pull the blind up using the pull, and wrap the remainder around the cleat.
That’s it – now you know how to make your first Roman shade!
Resources
The complete book of soft furnishings by Karen Coetzee, New Holland Publishers, 1997