Are you tired of dealing with a leaky basement? The constant moisture and dampness can not only cause damage to your belongings but also create an unhealthy environment for you and your family. One effective solution to prevent basement leaks is to install a waterproofing membrane on your basement walls. In this DIY guide, we will walk you through the step-by-step process of installing a basement wall waterproofing membrane.
Why Should You Waterproof Your Basement?
Waterproofing your basement is essential for maintaining the structural integrity of your home and preventing water damage. A wet basement can lead to mold growth, musty odors, and even foundation issues. By investing in basement waterproofing, you can protect your property and create a healthier living environment.
Common Causes of Basement Leaks
Before we delve into the installation process, let’s understand some common causes of basement leaks. By identifying and addressing these issues, you can effectively mitigate the risk of future leaks.
1. Poor Drainage System
A common cause of basement leaks is a poor drainage system. If your property doesn’t have proper grading or if the gutters and downspouts are not functioning correctly, water can accumulate near the foundation of your home. This can lead to water seeping into your basement through cracks or gaps.
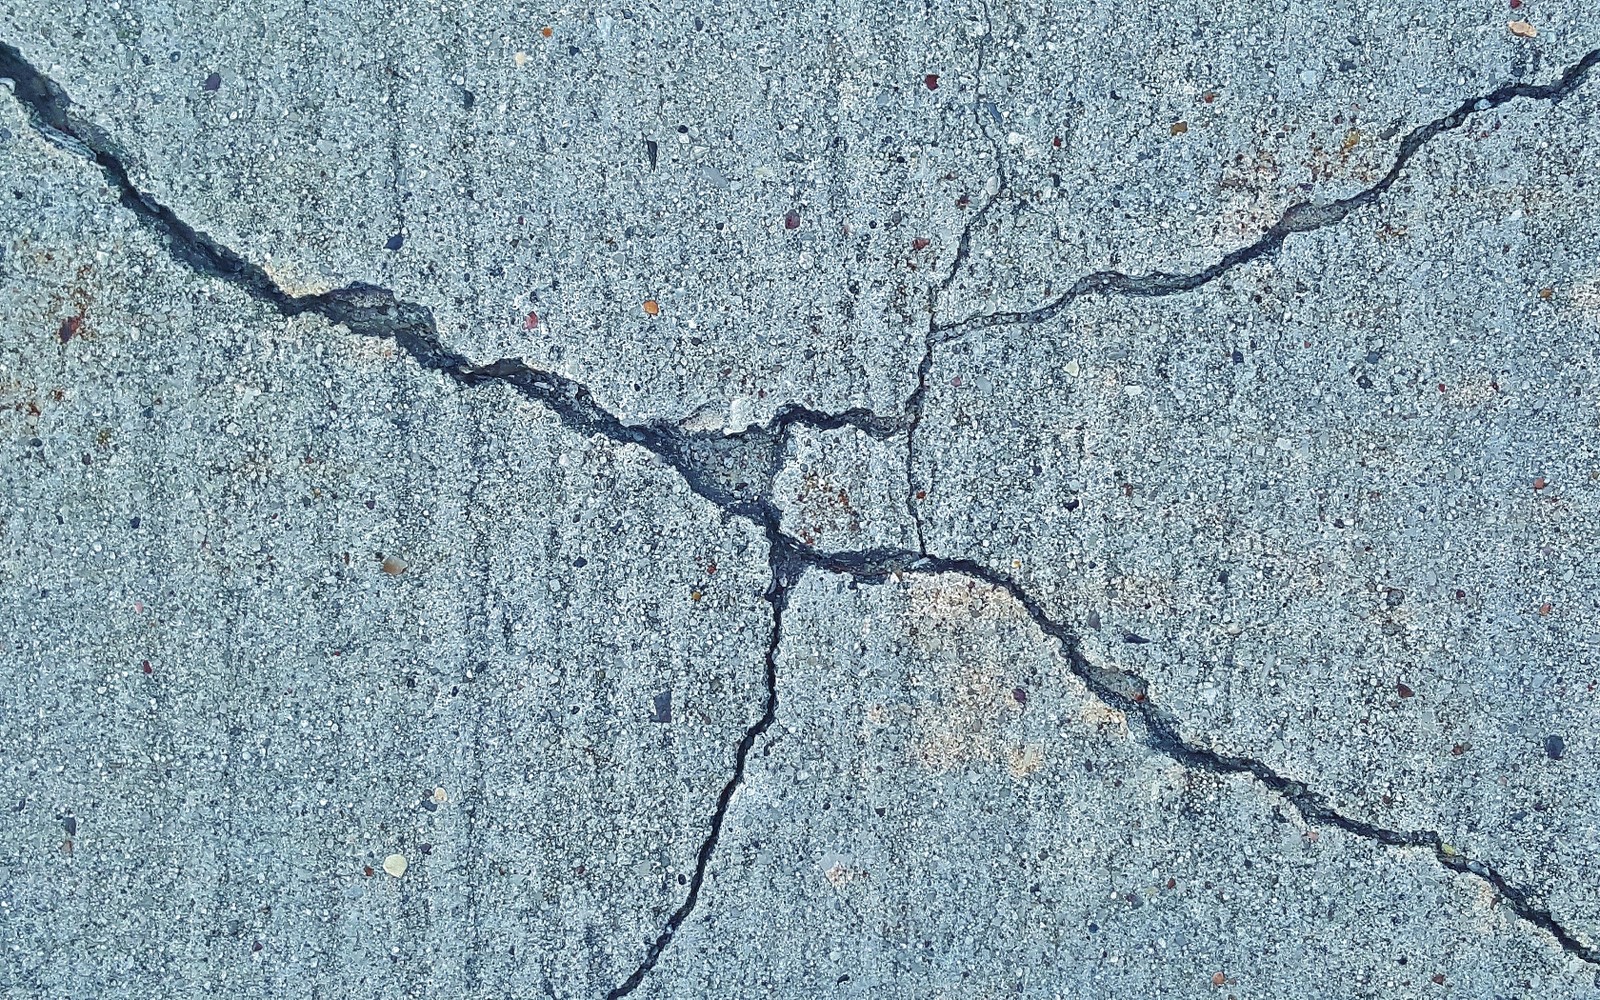
2. Cracks in Foundation Walls
Another common cause of basement leaks is cracks in the foundation walls. Over time, the soil around your foundation can expand and contract due to changes in moisture levels. This movement can cause the walls to crack, allowing water to seep into your basement. It’s important to regularly inspect your foundation walls for any signs of cracks and address them promptly.
3. Faulty or Inadequate Waterproofing
If your basement was not properly waterproofed during construction or if the waterproofing has deteriorated over time, it can lead to basement leaks. Waterproofing is essential to prevent water from seeping through the walls or floor of your basement. If you notice signs of water damage or dampness in your basement, it may be a sign that the waterproofing needs to be repaired or replaced.
4. Plumbing Leaks
Plumbing leaks can also contribute to basement leaks. If you have pipes or plumbing fixtures in your basement, a leak or burst pipe can result in water damage. It’s important to regularly inspect your plumbing system and address any leaks or issues promptly to prevent basement leaks.
5. Poorly Sealed Windows and Doors
Windows and doors in your basement that are not properly sealed can allow water to enter during heavy rain or snowmelt. It’s crucial to ensure that all windows and doors are properly sealed and caulked to prevent water from seeping through.
Preventing basement leaks starts with identifying the common causes and taking appropriate measures to address them. Regular maintenance, such as inspecting your foundation walls, checking your plumbing system, and ensuring proper drainage, can go a long way in preventing water damage in your basement.
Factors That Affect the Cost of Basement Waterproofing
The cost of waterproofing a basement can vary depending on several factors:
- Size of the Basement: The larger the basement, the more materials and labor will be required, which can increase the cost.
- Extent of the Problem: If your basement has significant water damage or foundation issues, additional repairs may be needed, which can add to the cost.
- Type of Waterproofing: There are different methods of waterproofing, including interior and exterior solutions. The type of waterproofing system you choose will affect the cost.
- Professional vs. DIY: Hiring a professional waterproofing company will typically cost more upfront but can provide long-term benefits and guarantee the quality of work.
Average Cost of Basement Waterproofing
The average cost of waterproofing a basement ranges from $1,500 to $15,000, depending on the above factors. On average, homeowners can expect to spend around $3,000 to $7,000.
Additional Costs to Consider
While the cost of basement waterproofing covers the essential waterproofing system, there may be additional costs to consider:
- Foundation Repairs: If your basement has existing foundation issues, such as cracks or bowing walls, these may need to be addressed before waterproofing can be done. The cost of foundation repairs can range from a few hundred to several thousand dollars.
- Sump Pump Installation: A sump pump is often recommended as part of a basement waterproofing system. The cost of installing a sump pump can range from $500 to $2,000.
- Exterior Drainage System: In some cases, an exterior drainage system may be necessary to redirect water away from your foundation. This can add cost of $2,000 to $10,000.
Benefits of Basement Waterproofing
While the cost of waterproofing your basement may seem like a significant investment, there are several benefits:
1. Prevents Water Damage
Water damage can lead to costly repairs and pose serious health risks. By waterproofing your basement, you can protect your home from flooding, leaks, and mold growth. This will help you avoid expensive repairs in the future.
2. Improves Indoor Air Quality
A damp basement can create the perfect environment for mold and mildew to thrive. These can release spores into the air, which can cause respiratory issues, allergies, and other health problems. Waterproofing your basement helps maintain healthy indoor air quality.
3. Increases Living Space
A dry and well-maintained basement can be transformed into a usable living space. By waterproofing your basement, you can create an additional bedroom, home office, or entertainment area. This can significantly increase the value of your home.
4. Protects Your Belongings
If you use your basement for storage, it’s essential to keep your belongings safe and dry. Waterproofing your basement prevents water damage, ensuring that your valuable items remain in good condition.
5. Enhances Energy Efficiency
Waterproofing your basement can also help improve the energy efficiency of your home. By sealing any cracks or gaps, you can prevent air leaks and reduce the need for excessive heating or cooling. This can result in lower energy bills and a more comfortable living environment.
Installation Process of Basement Wall Waterproofing Membrane
Now that we have a good understanding of the common causes of basement leaks and the cost associated with waterproofing, let’s dive into the step-by-step process of installing a basement wall waterproofing membrane.
Materials Needed
Before we begin, gather the following materials:
- Waterproofing membrane
- Utility knife
- Trowel
- Paintbrush
- Adhesive
- Sealant
- Joint tape
- Plastic sheeting
- Gravel
- Drainage pipe
- Concrete mix
Step 1: Prepare the Basement Walls
Start by cleaning the basement walls thoroughly. Remove any dirt, dust, or loose materials using a stiff brush. If there are any cracks or holes, fill them with hydraulic cement and allow them to dry.
Step 2: Apply the Adhesive
Using a trowel, apply a layer of adhesive on the basement walls. Make sure to cover the entire surface evenly. This adhesive will help the waterproofing membrane adhere to the walls.
Step 3: Install the Waterproofing Membrane
Unroll the waterproofing membrane and carefully press it onto the adhesive. Smooth out any wrinkles or air bubbles using a paintbrush or a roller. Trim off any excess membrane using a utility knife.
Step 4: Seal the Joints
Apply a layer of sealant over the joints of the waterproofing membrane. This will ensure that there are no gaps or leaks. Use a joint tape to reinforce the sealant and create a watertight barrier.
Step 5: Create a Drainage System
To prevent water buildup, create a drainage system inside the basement. Dig a trench along the perimeter of the walls and lay a drainage pipe. Cover the pipe with gravel and place a plastic sheet over it to prevent soil from clogging the system.
Step 6: Apply a Final Coat of Waterproofing
Once the membrane is installed, apply a final coat of waterproofing over the entire surface. This will provide an extra layer of protection against water intrusion. Allow the waterproofing to dry completely.
Step 7: Pour Concrete
Finally, pour a layer of concrete over the waterproofing membrane. This will create a smooth, durable surface and further reinforce the waterproofing system. Allow the concrete to cure according to the manufacturer’s instructions.
How Long Does it Take to Waterproof a Basement?
The duration of the waterproofing process depends on several factors such as the size of the basement, the severity of the problem, and the chosen waterproofing method. On average, it can take anywhere from a few days to a couple of weeks to complete a basement waterproofing project. It’s crucial to consider the drying time required between different steps to ensure the effectiveness of the waterproofing system.
Conclusion
By following these steps, you can successfully install a basement wall waterproofing membrane and safeguard your basement against leaks and moisture. Remember, if you feel uncomfortable with any step of the process, it’s always wise to consult with a professional waterproofing contractor.
Perla Irish, who is more familiarly known as Irish, is the Content Manager at newfld.com. She loves following trends around home and garden, interior design and digital marketing. Through this blog, Irish wants to share information and help readers solve the problems they are experiencing.