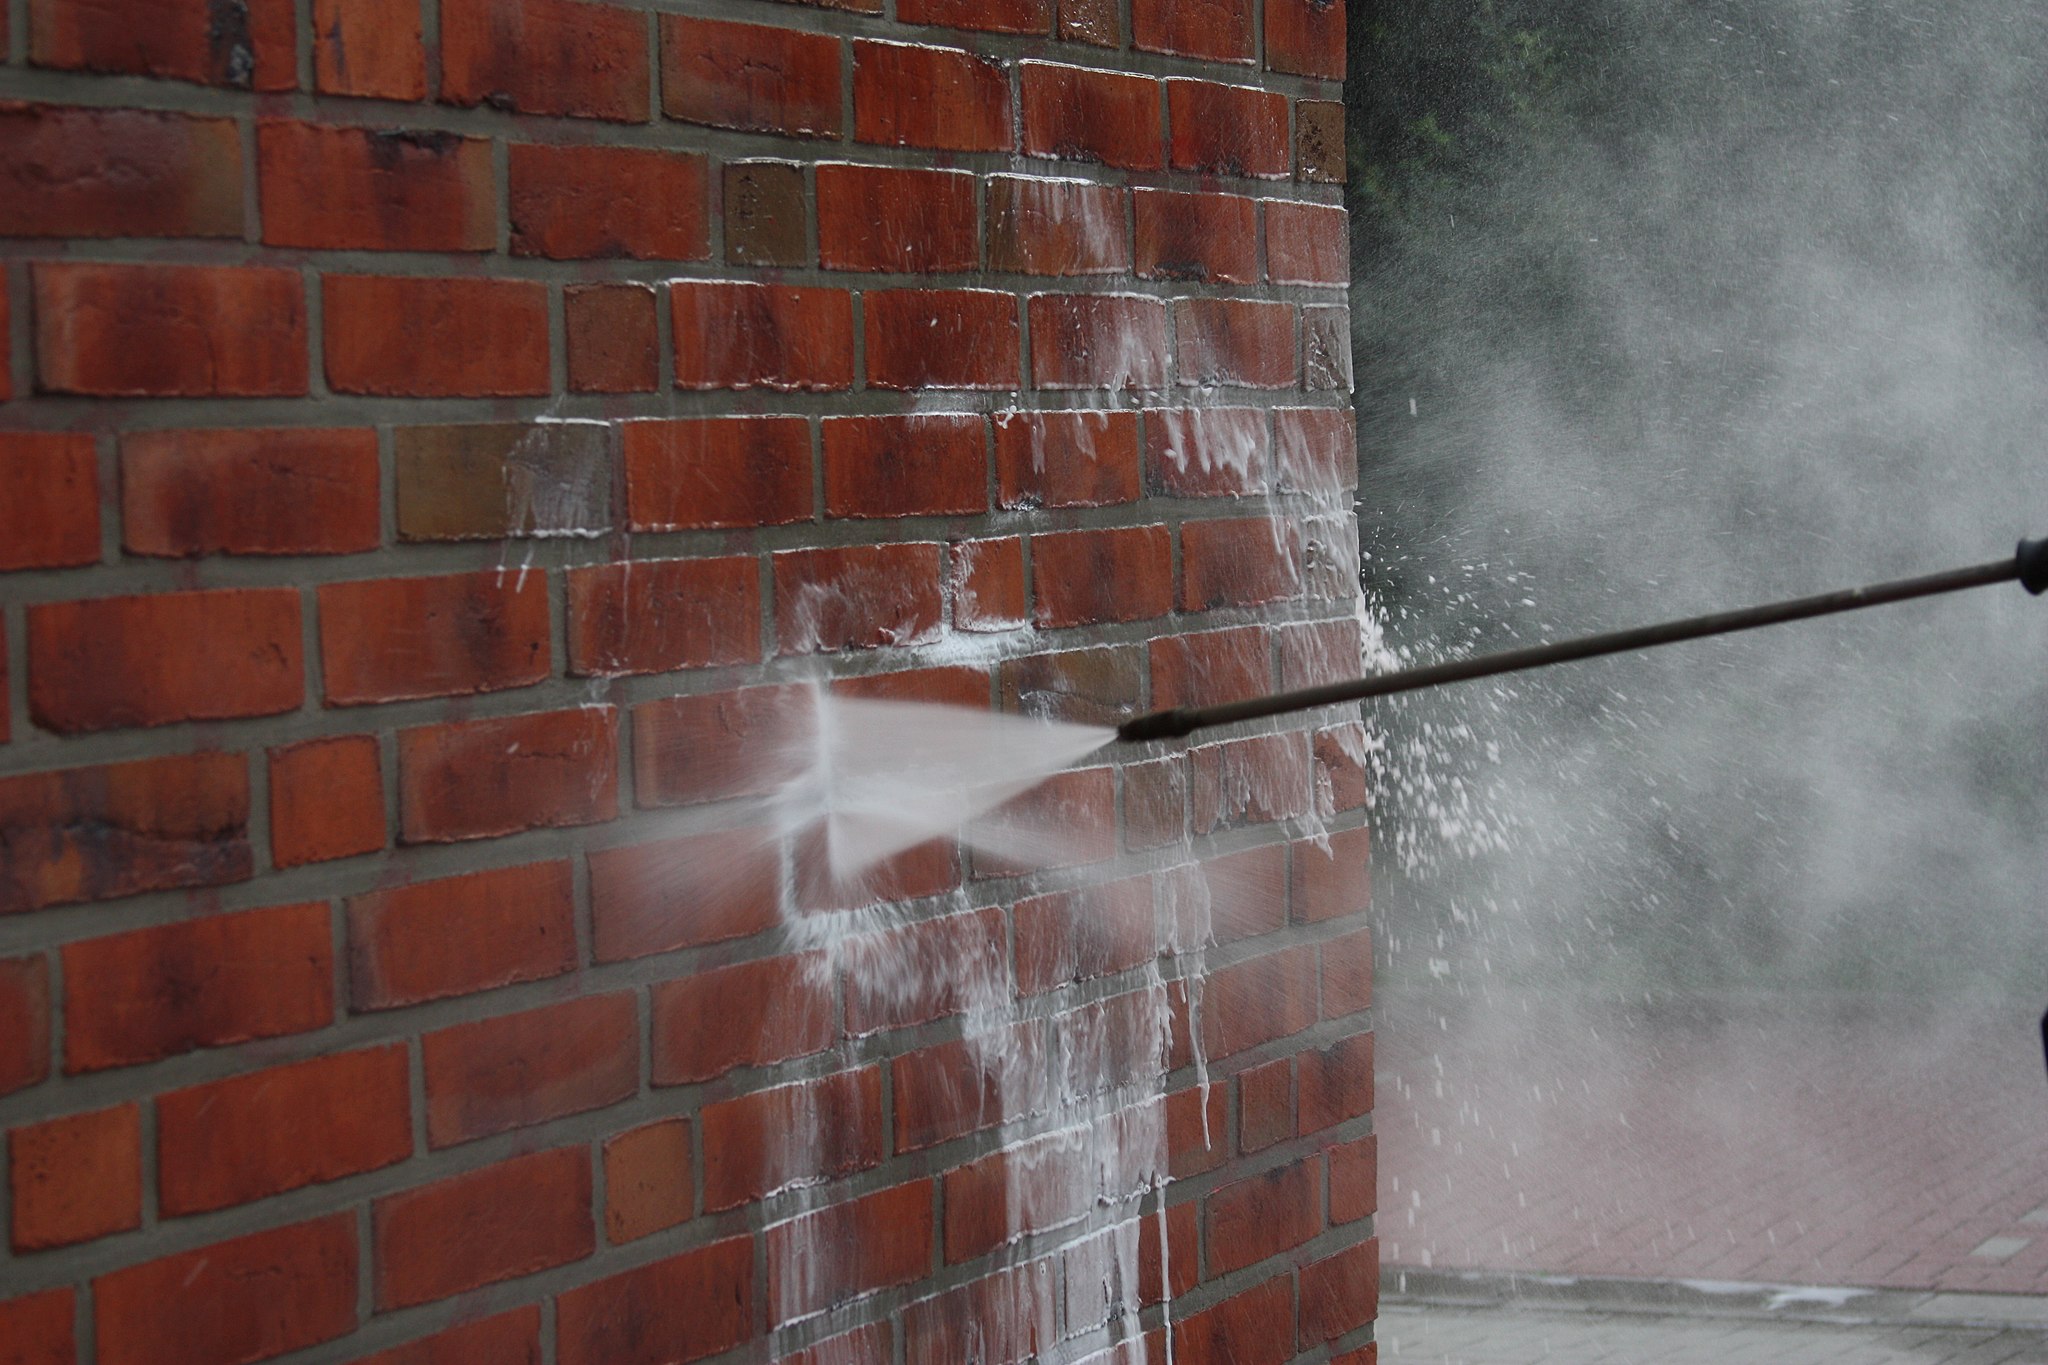
Do you have to clean old paint from a brick surface? If you do, several methods may work. Paint-removing gels and pastes work well but have some drawbacks while sandblasting and power washing use brute force to remove latex-based paint.
How to Clean Paint From Brick
If you have been unlucky enough to have drawn the task of cleaning paint off of brick, you are in for quite a workout. Before you begin the task, you’ll need to know the answers to a couple of basic questions:
- What is the condition of the brick?
- How old is the paint?
If the brick is in poor shape, then removing the paint may do more damage than it’s worth. If the paint was manufactured before 1970, it likely contains a lead base.
Once you’ve got these questions answered, you can choose the best method for paint removal.
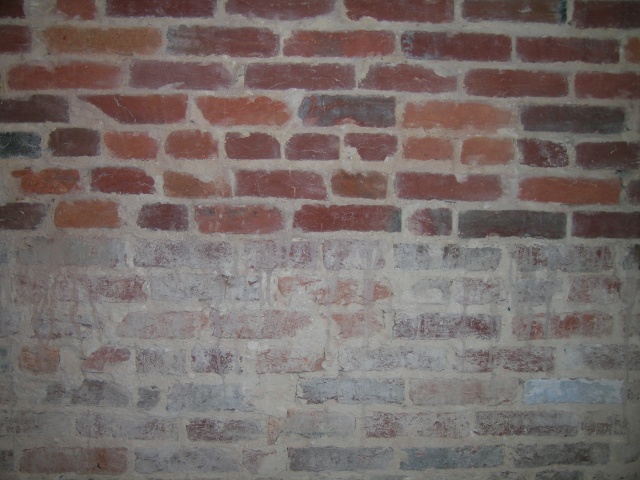
Sandblasting and Power Washing
If your brick is in good shape and the paint was applied post-1970, then sandblasting and power washing are effective methods for paint removal. These techniques utilize pressurized materials to blast away the paint, which results in a significant amount of airborne particles.
Equipment and Materials Needed
Before you begin, ensure you have the following:
- Sandblaster or power washer – Choose equipment with adjustable pressure settings.
- Protective gear – Safety goggles, a respirator, and durable gloves.
- Tarps and plastic sheeting – To cover nearby plants or structures.
- Tape – For securing the protective coverings.
Safety Precautions
For your safety, it’s crucial to wear appropriate protective gear:
- Safety goggles to protect your eyes from flying debris.
- A respirator to avoid inhaling fine particles.
Additionally, consider these tips:
- Wear long sleeves and pants to protect your skin from flying debris.
- Ensure adequate ventilation if working in enclosed spaces.
- Keep children and pets away from the work area.
Technique
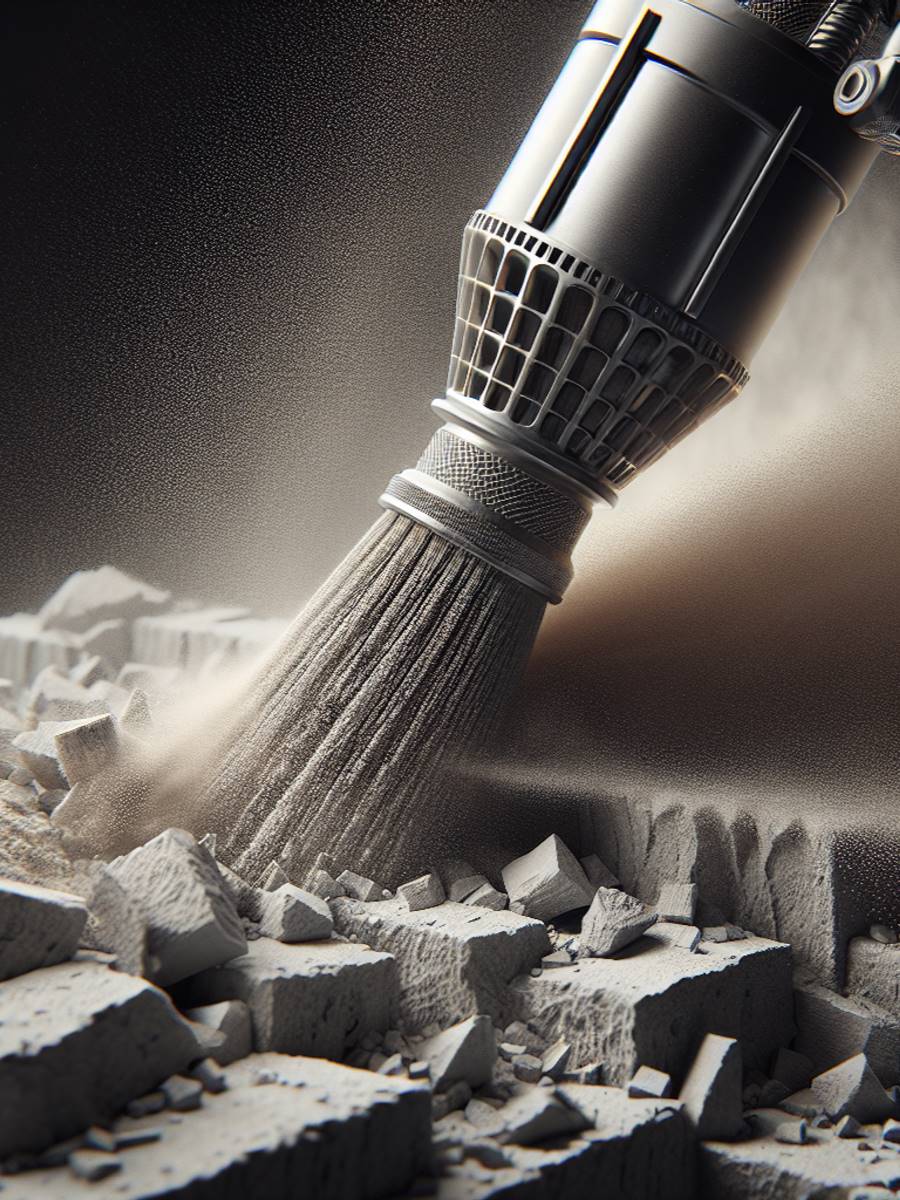
Sandblasting
Sandblasting involves propelling fine particles at high speeds onto the brick surface. Here’s how to do it effectively:
1. Set Up:
- Lay down tarps around the work area to catch debris and protect nearby surfaces.
- Ensure the workspace is clear of any objects that could be damaged by flying particles.
2. Prepare the Surface:
- Tape plastic sheeting over any areas that shouldn’t be sandblasted, such as windows, doors, or delicate architectural features.
- Cover plants and shrubs with plastic sheets to protect them from dust and debris.
3. Adjust Pressure:
- Start with a lower pressure setting on your sandblaster to avoid damaging the brick.
- Test on a small, inconspicuous area of the brick to gauge how it reacts to the pressure and abrasive material.
4. Blasting:
- Hold the nozzle at a consistent distance from the surface, typically around 12 inches.
- Move the nozzle in sweeping motions across the brick, avoiding prolonged exposure in one spot to prevent uneven wear.
- Maintain a steady hand and gradually increase pressure if needed, but always monitor for signs of damage to the brick.
5. Post-Blasting Care:
- Once sandblasting is complete, thoroughly clean the area by sweeping up debris and removing protective coverings.
- Inspect the brick surface for any remaining paint or uneven spots that may require additional attention.
By following these steps carefully, you can effectively remove paint from brick surfaces while minimizing potential damage.
Power Washing
Power washing uses high-pressure water jets to remove paint effectively. Here’s how to do it:
1. Initial Test:
- Start with a lower pressure setting, ideally around 500-800 PSI, to avoid damaging the brick.
- Test this setting on a small, inconspicuous section of the brick to see how it reacts. Adjust pressure if necessary.
2. Distance Control:
- Keep the nozzle approximately 12 inches away from the brick surface.
- Holding the nozzle too close can erode the brick, while too far may not effectively remove the paint.
3. Consistent Movement:
- Use even, sweeping strokes to cover the entire surface area.
- Avoid concentrating pressure in one spot for too long as it can lead to uneven wear or damage.
4. Angle of Attack:
- Maintain a consistent angle of about 45 degrees when spraying.
- This approach helps in lifting the paint off without forcing water deep into the brick pores.
5. Safety Precautions:
- Wear protective gear such as goggles and gloves to protect yourself from debris and high-pressure water.
- Ensure that electrical outlets and fixtures in the vicinity are covered and protected from water exposure.
6. Post-Wash Inspection:
- After washing, inspect the brick for any residual paint or damage.
- Allow the brick to dry completely before considering additional treatments or paint removal attempts.
By following these detailed steps, you can efficiently use power washing to remove paint from brick surfaces while minimizing potential damage.
Professional Help
If you’re unsure about handling these tools yourself or if your brick is particularly delicate, it may be wise to seek professional assistance. A professional brick cleaning service can offer:
- Expertise in handling various types of brick
- Appropriate equipment for safe paint removal
- Assurance of minimal damage to your property
Drying Time
Brick is a porous material, and power washing will cause the brick to soak up water. Before doing any further work on the brick, it will have to dry out completely. If power washing doesn’t leave enough dry time before freezing temperatures set in, the water in the pores can expand and cause the brick to break from within.
Liquid Thinners
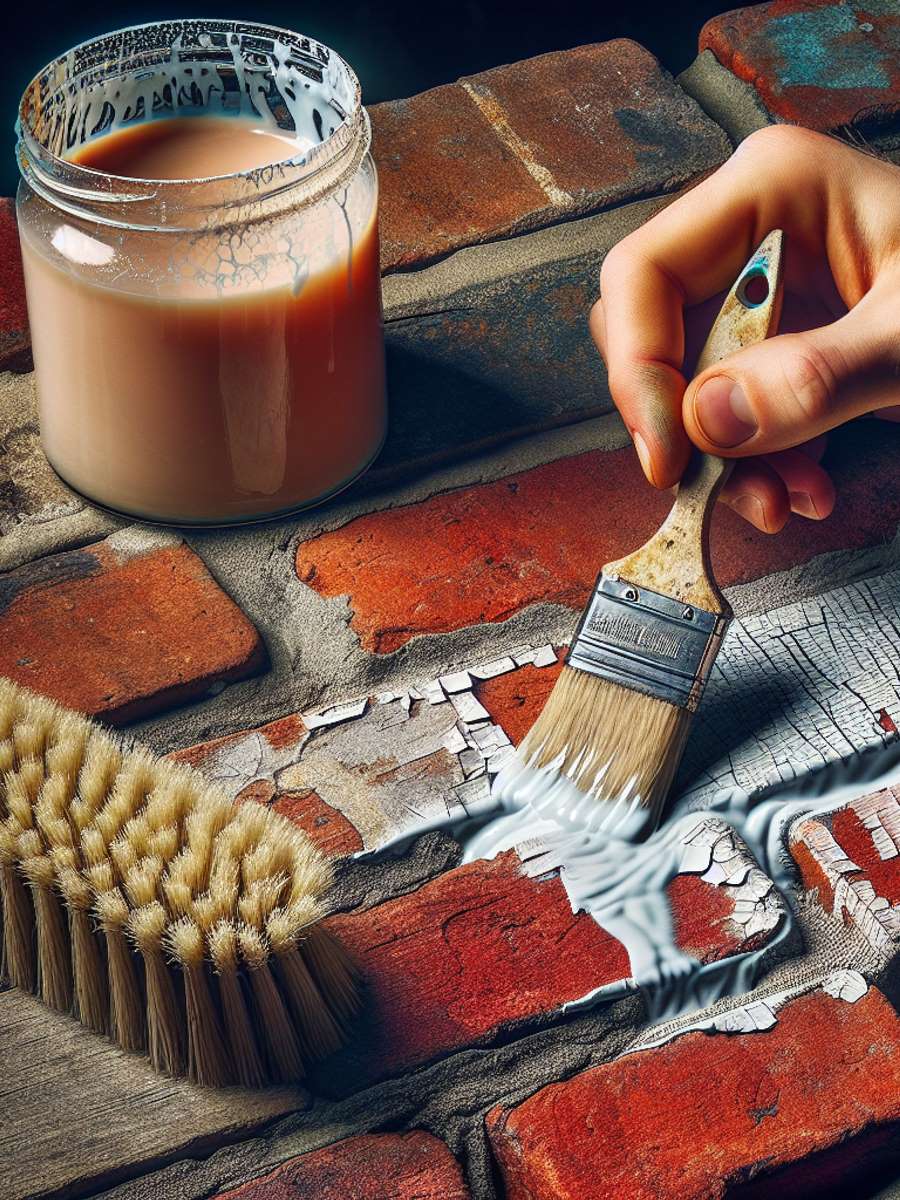
Commercial paint thinners can be applied with a rag to a painted brick surface and then scraped away with a wire brush. This method is particularly effective when dealing with oil-based paints.
Application Tips
Here are some key tips for using liquid thinners:
- Use marine-based thinners: These are usually the strongest.
- Spread out a drop cloth: Place it beneath your working area to catch any dripping solvent.
This process is extremely messy, often resulting in clumps of wet paint and solvent all over. This solvent can cause damage to other surfaces if it isn’t contained.
Ventilation Safety
Whenever using these solvents, it’s important to wear a respirator due to toxic fumes. If you are working indoors:
- Open windows
- Run a fan for ventilation
Gels and Pastes
The most common method for removing lead-based paints is using a gel or paste. These removers are applied in a thick layer on the painted surface, and then a piece of fabric is pressed up against the gel.
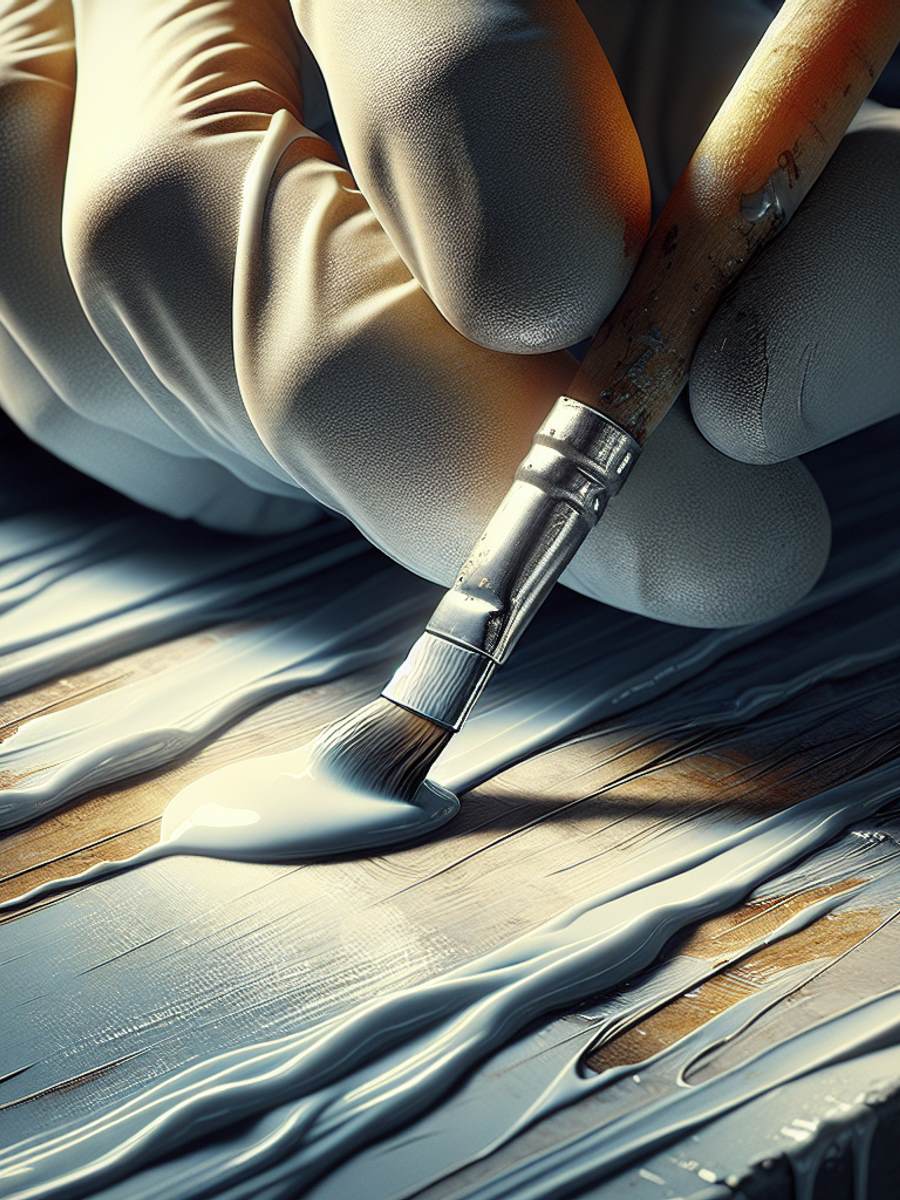
Process Overview
- Apply remover: Spread a thick layer of gel or paste onto the painted surface.
- Press fabric: Lay a piece of fabric against the gel.
- Peel away: After some time, peel away the fabric along with most of the paint.
This keeps lead-based particles to a minimum since most of the paint stays stuck to the fabric.
Advantages
Although this process is lengthy, it often yields excellent results and is preferred for restoring historic brick homes.
Additional Attempts
Cleaning paint off brick often takes more than one attempt:
- The first run removes much of the paint but leaves some areas unclean.
- A second run-through may clean further but may require multiple attempts (up to four or five).
Sometimes this “weathered” look is more attractive than completely clean brick. Estimating time for cleaning? Multiply your initial estimate by three for accuracy.
Dealing With Residual Whitewash
Encountering whitish tints on your bricks during cleaning can be frustrating. These tints are likely remnants of the whitewash, which can re-adhere to the bricks if not properly rinsed. Here are some steps to effectively deal with this issue:
1. Rinse Bricks More Quickly
- As soon as you notice any whitewash residue, promptly rinse the affected bricks. Quick action helps to prevent the whitewash from drying and sticking back onto the brick surface.
- Use a hose with a strong water stream for faster and more efficient rinsing.
2. Rinse Bricks More Thoroughly
- Ensure that you thoroughly wash off all cleaning agents and debris from the brick. Incomplete rinsing can leave behind particles that contribute to the whitish tint.
- Consider using a brush with stiff bristles to scrub areas where residue is particularly stubborn.
Taking these steps helps prevent residual whitewash from re-adhering to your bricks, ensuring a cleaner and more professional finish.
Conclusion
Cleaning bricks can be a time-consuming process, but the results are worth it. Remember to anticipate additional time for weathered bricks and consider multiplying your initial estimate by three. When dealing with residual whitewash, act quickly to rinse off any residue and ensure a thorough cleaning by using a brush if necessary. By following these steps, you’ll be able to achieve a cleaner finish and preserve the natural beauty of your bricks.
FAQs (Frequently Asked Questions)
If you have been unlucky enough to have drawn the task of cleaning old paint from a brick surface, the answer is yes. It is important to remove old paint from the brick before applying new paint to ensure proper adhesion and a smooth finish.
Before you begin, ensure you have the following: Sandblaster or power washer, appropriate protective gear (goggles, gloves, etc.), commercial paint thinners, marine-grade brushes or scrapers for gels and pastes.
For your safety, it’s crucial to wear appropriate protective gear such as goggles, gloves, and a respirator whenever using solvents or operating sandblasting or power washing equipment. Proper ventilation is also important when working with solvents.
The process involves applying a thick layer of gel or paste onto the painted areas, allowing it to sit for a specified amount of time, and then scraping off the softened paint with marine-grade brushes or scrapers. It may require multiple attempts for complete removal.
If encounter whitish tints on your bricks during cleaning, rinse them more quickly and thoroughly to ensure all cleaning agents and residue are completely removed. This will help prevent any lingering discoloration on the bricks.
If you’re unsure about handling sandblasting or power washing equipment yourself, or if you need assistance with using solvents or other methods of paint removal, it’s recommended to seek professional help to ensure the job is done safely and effectively.
Perla Irish, who is more familiarly known as Irish, is the Content Manager at newfld.com. She loves following trends around home and garden, interior design and digital marketing. Through this blog, Irish wants to share information and help readers solve the problems they are experiencing.
