Are you tired of cluttered shelves and disorganized books? If so, it’s time to consider installing your very own DIY built-in bookshelves.
Not only will they provide a stylish and organized storage solution, but they will also add value and character to your home. In this guide, we’ll walk you through the step-by-step process of installing your own built-in bookshelves.

Install DIY Built-In Bookshelves
Step 1: Planning and Preparation
Before you start any DIY project, it’s essential to plan and prepare. Measure the space where you want to install the bookshelves and take note of any obstacles such as electrical outlets or baseboards. Decide on the design and style of your bookshelves, whether you prefer a traditional or modern look.
Here are some steps to follow:
- Measure your space: You need to measure the width, height, and depth of the space where you want to install your bookshelves. This will help you determine how many shelves you can fit, how wide and deep they should be, and how much wood and other materials you need to buy. You should also measure the distance from the floor to the ceiling, the distance from the wall to the nearest outlet or window, and the location of any studs or pipes behind the wall.
- Choose your design: You need to decide what kind of bookshelves you want to build and how you want them to look. There are many different types and styles of bookshelves, such as open, closed, adjustable, fixed, etc. You should also consider the color, finish, and trim of your bookshelves, and how they will match or contrast with your existing decor. You can find inspiration for your design from various sources, such as websites, videos, magazines, or books.
- Make a sketch or a plan: You need to make a sketch or a plan of your bookshelves, showing the dimensions, layout, and structure of each shelf and cabinet. You should also mark the location of any hardware, such as hinges, knobs, handles, brackets, etc. You can use a pencil and paper, a computer program, or an online tool to create your sketch or plan. This will help you visualize your project and make any adjustments before you start cutting and assembling your wood.
- Gather your tools and materials: You need to gather all the tools and materials that you will need for your project, such as wood, plywood, screws, nails, glue, paint, primer, caulk, etc. You should also have the necessary tools, such as a miter saw, a circular saw, a drill, a drill bit, a caulk gun, a tape measure, a level, a square, a pencil, a hammer, etc. You should also have some safety equipment, such as gloves, goggles, earplugs, etc. You can buy most of these items from your local hardware store or online.
Step 2: Gather Your Materials
Once you have a plan in place, it’s time to gather your materials. You’ll need a tape measure, level, drill, screws, wood glue, a saw, and the wood or plywood of your choice. Make sure to choose high-quality materials that will stand the test of time.
Read Also:
Step 3: Build the Framework
Start by building the framework for your bookshelves. Measure and cut the pieces of wood or plywood according to your desired dimensions. Use a level to ensure that everything is straight and square. Secure the pieces together using screws and wood glue. This framework will serve as the base for your bookshelves.
Step 4: Install the Bookshelf Backing
Next, it’s time to install the backing for your bookshelves. Measure and cut a piece of plywood to fit the back of the framework. Attach it securely using screws. This backing will provide stability and support for your shelves.
Step 5: Add the Shelves
Now comes the fun part – adding the shelves! Measure and cut pieces of wood or plywood to your desired shelf dimensions. Use a level to ensure that each shelf is straight. Attach them securely to the framework using screws and wood glue. You can adjust the shelf heights to accommodate different book sizes or decorative items.
Step 6: Finishing Touches
Once all the shelves are in place, it’s time for the finishing touches. Fill any screw holes or gaps with wood putty and sand them down for a smooth finish. You can also paint or stain your bookshelves to match your existing decor. Consider adding trim or molding for an extra touch of elegance.
Step 7: Enjoy Your New Bookshelves
After all your hard work, it’s time to sit back, relax, and enjoy your new DIY built-in bookshelves. Organize your books, display your favorite decorative items, and revel in the beauty and functionality of your new storage solution.
Here are some tips on how to make the most of your new bookshelves:
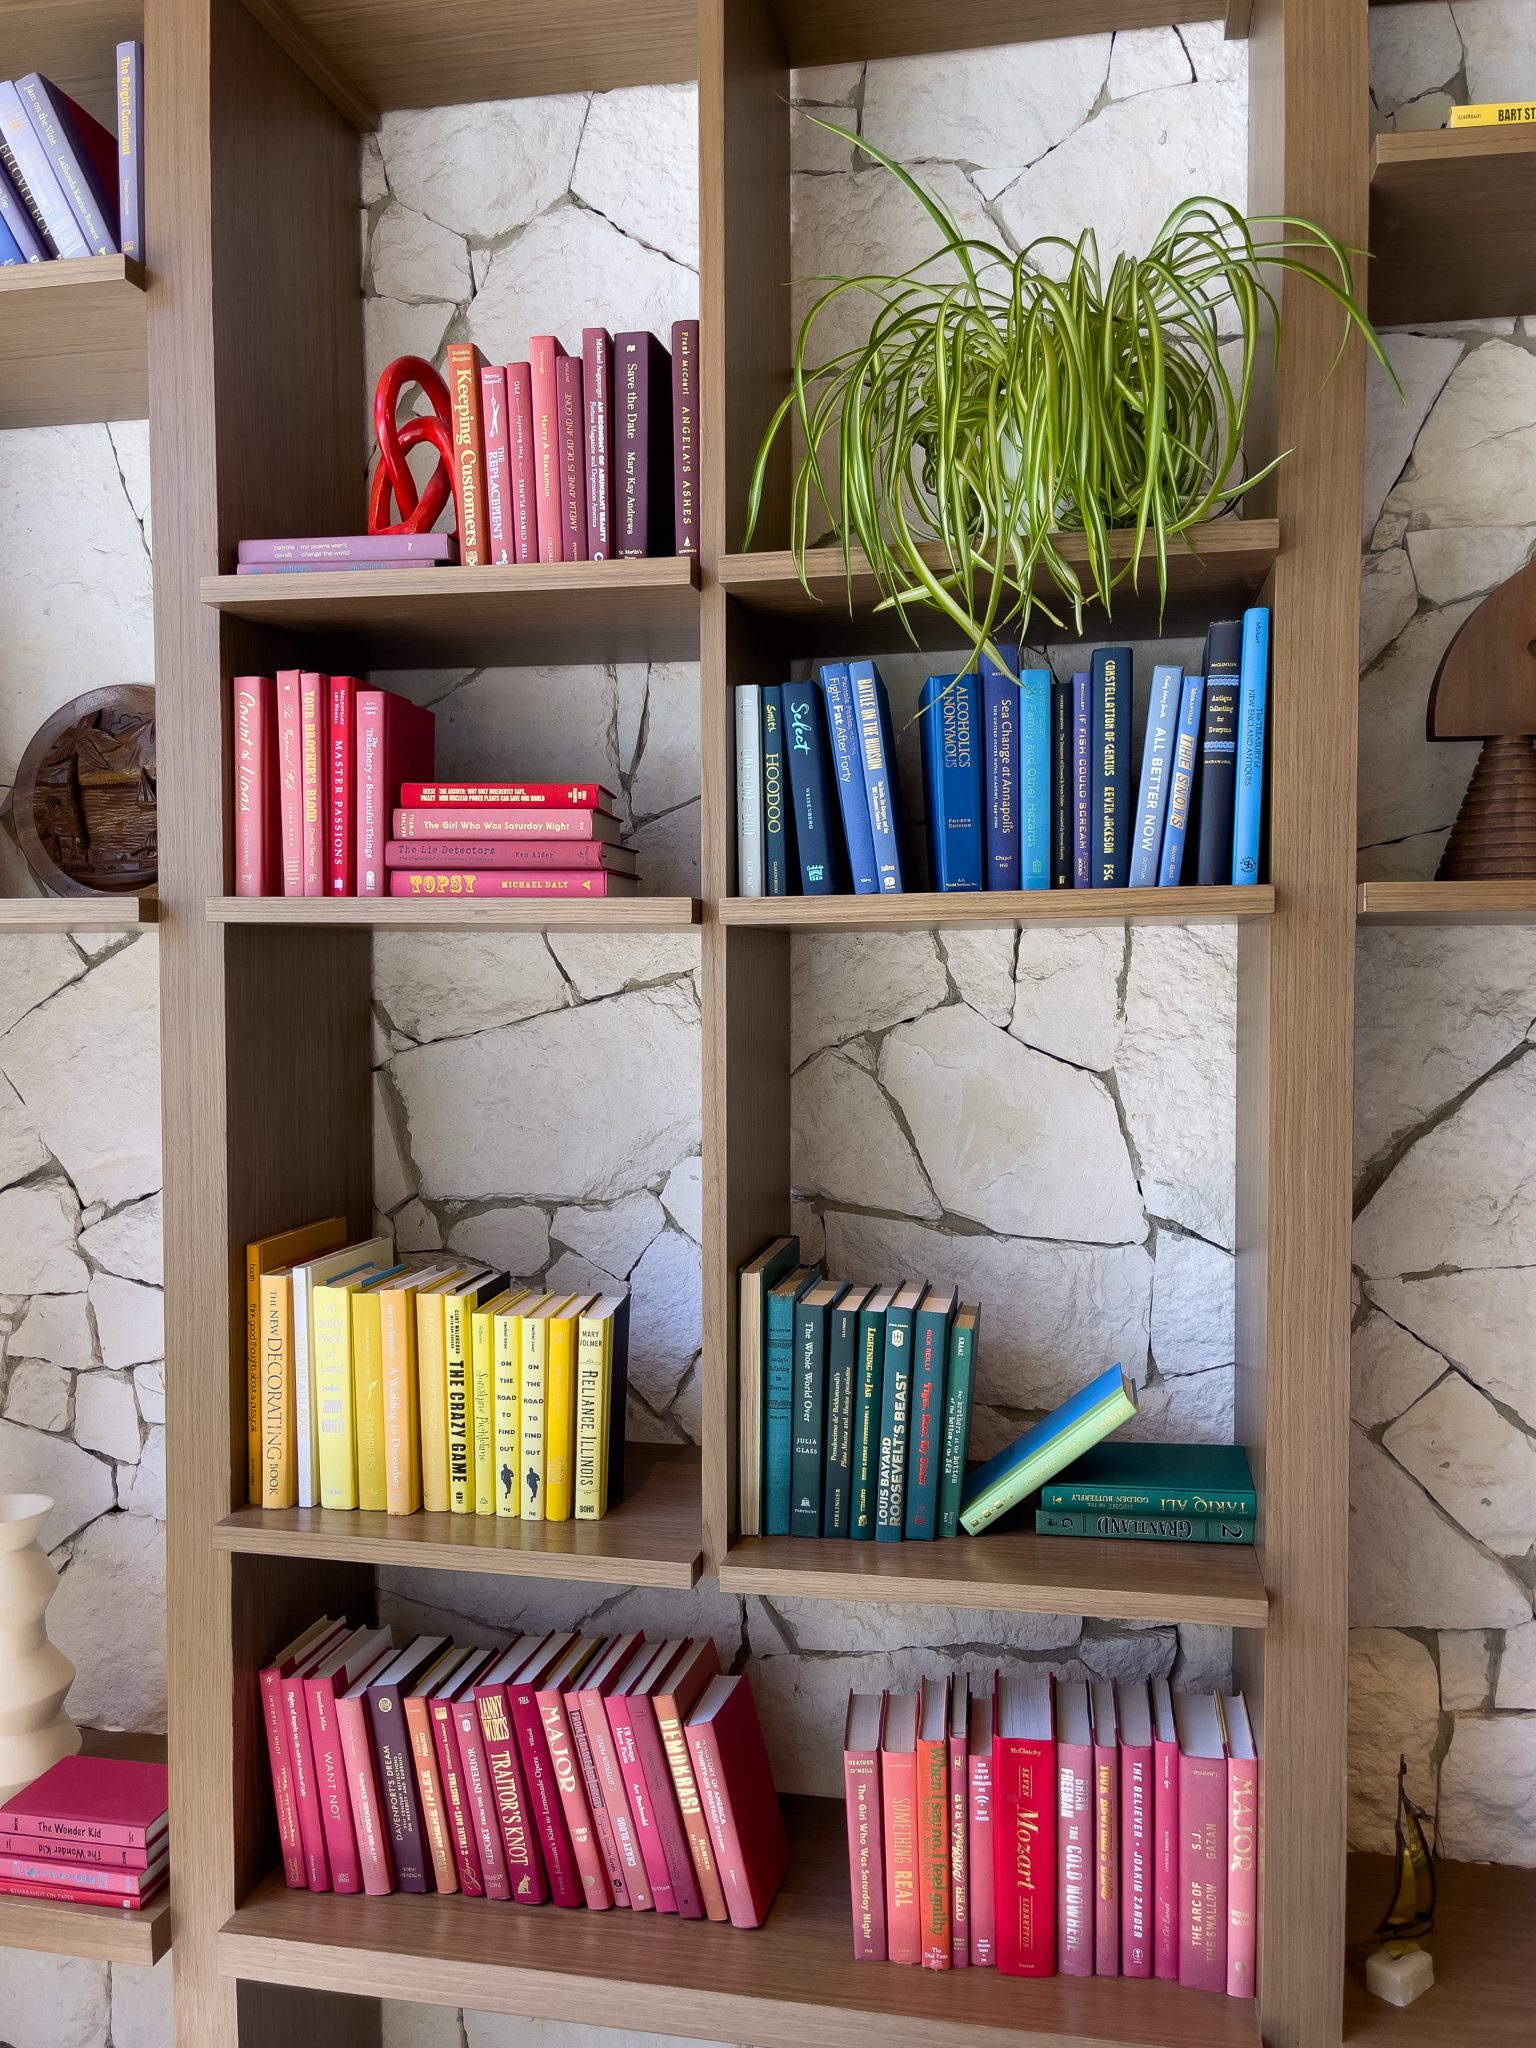
- Organize your books and other items: You can arrange your books and other items on your bookshelves according to your preference and style. You can sort them by genre, author, color, size, or any other criteria that suits you. You can also mix and match books with other decor items, such as plants, vases, candles, frames, etc. to create a visually appealing and personalized display.
- Add some lighting: You can enhance the look and functionality of your bookshelves by adding some lighting. You can use LED strips, puck lights, or sconces to illuminate your shelves and highlight your books and decor. You can also use dimmers or timers to adjust the brightness and mood of your lighting.
- Accessorize your bookshelves: You can add some finishing touches to your bookshelves by adding some accessories, such as knobs, handles, brackets, or moldings. You can choose accessories that match or contrast with your bookshelves’ color and style. You can also use paint, stain, or wallpaper to change the appearance of your bookshelves if you want to refresh or update them.
- Maintain your bookshelves: You can keep your bookshelves in good condition by cleaning and dusting them regularly. You can also check for any loose screws, nails, or hinges and tighten them if needed. You can also repair any scratches, dents, or cracks with wood filler, sandpaper, and paint.
Conclusion
Installing DIY built-in bookshelves is a rewarding and practical project that can transform any space. With a little planning, preparation, and some handy tools, you can create a stylish and organized storage solution that will enhance the look and value of your home. So, roll up your sleeves, grab your tools, and get ready to install your very own built-in bookshelves!
Perla Irish, who is more familiarly known as Irish, is the Content Manager at newfld.com. She loves following trends around home and garden, interior design and digital marketing. Through this blog, Irish wants to share information and help readers solve the problems they are experiencing.