NewField Homes NewField Homes
  • Home Improvements
    • Building & Design
    • Decorating
    • Remodeling
    • Home Exterior
    • Living Areas
    • Home Management
    • Woodworking
  • Lawn & Garden
    • Gardening
    • Landscaping
    • Lawn Care
  • Real Estate
  • Home Improvements
    • Building & Design
    • Decorating
    • Remodeling
    • Home Exterior
    • Living Areas
    • Home Management
    • Woodworking
  • Lawn & Garden
    • Gardening
    • Landscaping
    • Lawn Care
  • Real Estate

Archives

  • March 2023
  • February 2023
  • January 2023
  • December 2022
  • November 2022
  • October 2022
  • September 2022
  • August 2022

Categories

  • Building & Design
  • Decorating
  • Gardening
  • Home Exterior
  • Home Improvements
  • Home Management
  • Landscaping
  • Lawn & Garden
  • Lawn Care
  • Living Areas
  • Real Estate
  • Remodeling
  • Woodworking
42K
99K
0
0
  • Privacy Policy
  • Disclaimer
  • Sitemap
  • Contact Us
NewField Homes NewField Homes
  • Home Improvements
    • Building & Design
    • Decorating
    • Remodeling
    • Home Exterior
    • Living Areas
    • Home Management
    • Woodworking
  • Lawn & Garden
    • Gardening
    • Landscaping
    • Lawn Care
  • Real Estate
  • Decorating
  • Home Improvements

How to Paint Using Sponge on Faux Brick Walls: Create Realistic-Looking Faux Bricks with Ease

  • October 13, 2022
  • Perla Irish
How to Sponge Paint Faux Brick Walls
Total
4
Shares
1
0
3
0
0
Table of Contents Show
  1. How to Sponge Paint Faux Brick Walls
  2. Preparation
  3. Sponging On the Faux Bricks
  4. Adding Mortar Detail
  5. Adding More Texture
    1. Sources
    2. Image Credits
The question of how to paint using a sponge on faux brick walls is not as difficult to answer as you would first think. How to draw up a realistic-looking faux brick pattern, along with the easy method of using a sponge to create a realistic-looking faux brick wall, is shared in this guide.

How to Sponge Paint Faux Brick Walls

Wondering how to paint using the sponge on faux brick walls? This guide on painting faux brick using a sponge will show you that it’s a simple faux paint technique to master.

Preparation

The most effective way to use the faux brick technique is in a small section in the corner of a room, or around a window frame. It should look as if the plaster has come off the walls, leaving the faux brick exposed underneath.

You can of course choose to cover more of a wall than this, but don’t be too ambitious in the size of the area; a small section of wall works best.

Draw a rough outline in pencil on the wall where you want the faux brick to be. Paint over this area with a warm paint wash: dilute equal parts water to a brown, red, and orange mixed paint. Swirl the paint onto the walls to create a warm color, and start building up texture.

Sponging On the Faux Bricks

Cut a regular sponge to the dimensions of the side of a brick (approx 8.5″x 2.5″/215mmx65mm) to create your stamp. Think about what kind of brick color you want to achieve.

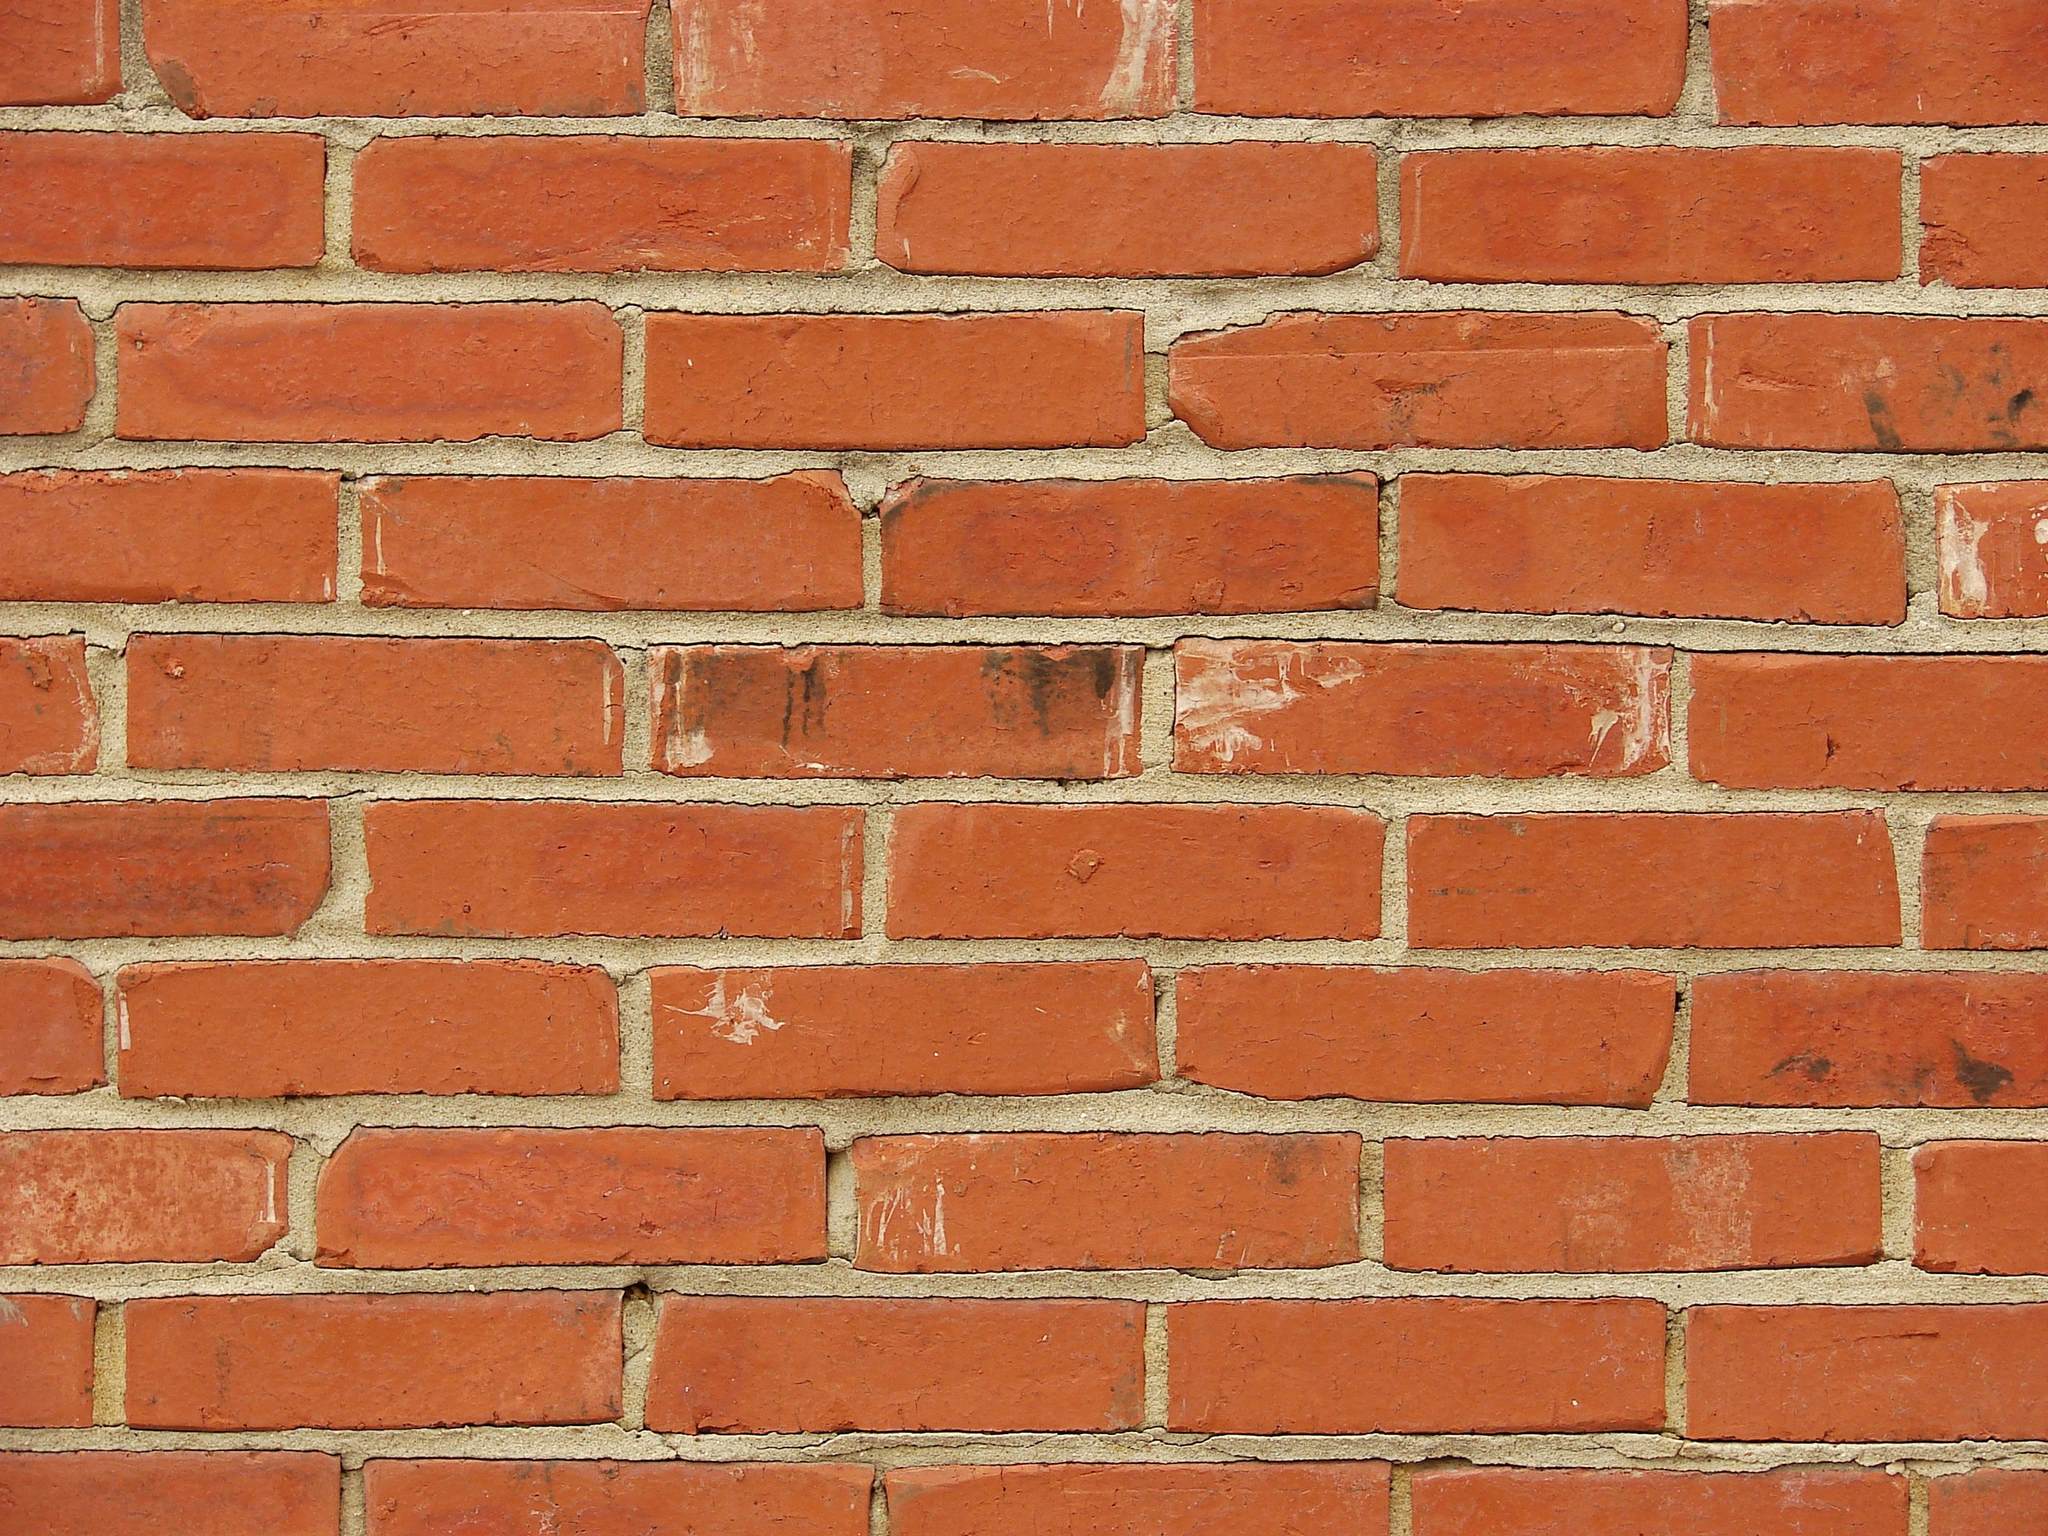
A dollhouse with perfect red clay, or a more rustic brick with lots of added texture, are popular choices. Please note: the images in this section are designed as a visual aid to help you with this decision, and are not the result of faux brick painting.

For the red clay effect, mix together red, brown, and a touch of yellow ochre. Using a picture as a guide, add extra colors as you need them to create the realistic-looking faux brick paint color.

Brickwall texture faux brick painting guide

For a more sand-colored faux brick wall, start with a mix of burnt sienna and yellow ochre with a bit of brown, and add extra colors if needed. Adding brown to darken, or cream to lighten, will give a more natural effect than using straight black or white.

When you’ve perfected the color, pour it into a tray and dip your sponge stamp into it. Dab off the excess paint onto a paper towel until there is only a slight covering of paint on the sponge.

Press the sponge onto the wall within your pencil guideline (use masking tape if you need to). If the faux brick impression is too faint, then go over it again to build up a realistic-looking textured brick. Finish this process when you are happy with the result.

Leave space around each brick, to add the mortar detail later, as you move on sponge paint the next faux brick.


Read Also:

  • Throw Out the Old Rules for Decorating a Small Apartment
  • How to Find My Decorating Style

Adding Mortar Detail

Mix up a combination of Payne’s grey and burnt sienna (grey and beige – adding white if necessary), and begin adding mortar detail between your sponged-on faux bricks, with a small paintbrush. If you are not confident in doing this, then start with a watered-down version of your color, and build it up in small strokes.

It is fine to “go over the lines,” as even the most uniform of bricks have inconsistencies. This process adds to the visual interest and texture. If you go badly wrong, then try sponging over the faux brick in that section again, even using a darker color, or adding some black (see the above red brick picture, for an example).

Adding More Texture

Faux brick wall completed, there are several ways in which you can add texture to make your faux bricks look even more realistic.

When the paint has dried, use a small piece of medium sandpaper to rub gently over the painted faux bricks. If you don’t rub too hard, it really helps to exaggerate the texture and starts bringing the faux brick wall to life.

Splattering is especially effective when used on the more rustic type of faux brick. Using any combination of paint colors, with the main color being brown or beige, is effective, and then water it down. Dip an old toothbrush in the paint wash, and run your finger over the bristles, close to your faux brick wall, to create a “splattered” effect.

You can even add faux cracks, to the outside of your bricks where the “plaster” has come off the walls.

Using these techniques will have shown you how to paint using a sponge on faux brick walls, to look so realistic, that they will trick the eye of any visitor to your home.

Sources

  • A Potted history of building materials – https://www.ecotiffin.co.uk/maintenance-repair/history-of-building-materials/
    Janet Shearer’s Trompe l’Oeil Painting Course, New Holland Publishers, 2002

Image Credits

  • Bricks-4172 – David R. Tribble: https://commons.wikimedia.org/wiki/File:Bricks-4172.jpg
  • Brickwall texture – Aardappell: https://commons.wikimedia.org/wiki/File:Brickwall_texture.jpg
Total
4
Shares
Share 1
Tweet 0
Pin it 3
Share 0
Perla Irish

Related Topics
  • brick
  • colors
  • paint
  • texture
  • walls
You May Also Like
View Post
  • Building & Design
  • Home Improvements
  • Remodeling

Cost of Remodeling a Garage into a Bedroom

  • Perla Irish
  • March 9, 2023
Decorating Ideas for an Odd Shaped Great Room
View Post
  • Decorating
  • Home Improvements

Decorating Ideas for an Odd Shaped Great Room

  • Perla Irish
  • February 19, 2023
List of Top 15 Easy DIY Home Decor Projects
View Post
  • Decorating
  • Home Improvements

List of Top 15 Easy DIY Home Decor Projects

  • Perla Irish
  • January 29, 2023
How to Refinish an Antique Coffee Table
View Post
  • Home Improvements
  • Woodworking

How to Refinish an Antique Coffee Table

  • Perla Irish
  • December 30, 2022
Faux Wood Painting Techniques: Painting a Floor to Resemble Hardwood
View Post
  • Home Improvements
  • Woodworking

Faux Wood Painting Techniques: Painting a Floor to Resemble Hardwood

  • Perla Irish
  • December 27, 2022
View Post
  • Decorating
  • Home Improvements
  • Home Management

Playroom Storage 101: What are the Best Ideas for Kids Room Sanity?

  • Perla Irish
  • December 20, 2022
Featured image - Hiring Professional Removalists vs DIY Move
View Post
  • Home Improvements

Hiring Professional Removalists vs DIY Move

  • Perla Irish
  • December 20, 2022
Closet Organization 101 - The Best Storage & Organizer Ideas
View Post
  • Decorating
  • Home Improvements
  • Home Management

Closet Organization 101 – The Best Storage & Organizer Ideas

  • Perla Irish
  • December 11, 2022

Leave a Reply Cancel reply

Your email address will not be published. Required fields are marked *

This site uses Akismet to reduce spam. Learn how your comment data is processed.

Recent Posts
  • The Art of Landscaping
    Landscaping Guide – The Art of Landscaping
    • March 27, 2023
  • 6 Faux-Pas and Fixes for Outdoor Home Staging
    6 Faux-Pas and Fixes for Outdoor Home Staging
    • March 23, 2023
  • Creating an Authentic Japanese Garden – But Made in North America, Eh?
    • March 17, 2023
Featured Posts
  • The Art of Landscaping 1
    Landscaping Guide – The Art of Landscaping
    • March 27, 2023
  • 6 Faux-Pas and Fixes for Outdoor Home Staging 2
    6 Faux-Pas and Fixes for Outdoor Home Staging
    • March 23, 2023
  • 3
    Creating an Authentic Japanese Garden – But Made in North America, Eh?
    • March 17, 2023
  • Secrets to Creating a Personal Garden Sanctuary 4
    Secrets to Creating a Personal Garden Sanctuary
    • March 15, 2023
  • 10 Essential Fall Yard Care Tips - Preparing Northern Yards and Gardens for Winter 5
    10 Essential Fall Yard Care Tips – Preparing Northern Yards and Gardens for Winter
    • March 14, 2023
Categories
  • Building & Design (3)
  • Decorating (10)
  • Gardening (5)
  • Home Exterior (1)
  • Home Improvements (21)
  • Home Management (2)
  • Landscaping (6)
  • Lawn & Garden (14)
  • Lawn Care (6)
  • Living Areas (1)
  • Real Estate (4)
  • Remodeling (3)
  • Woodworking (2)

Subscribe

Subscribe now to our newsletter

NewField Homes NewField Homes
  • Privacy Policy
  • Disclaimer
  • Sitemap
  • Contact Us
Home, Garden and Lifestyle Inspiration

Input your search keywords and press Enter.